How to make text wrap around images in Google Docs
Docswrite Team
Sep 24, 2023
3 min read
If you use Google Docs for writing visual guides, blogs, specifications, manuals, etc. You must have encountered the issue of text not wrapping properly around the images. This also happens when you move data or copy-paste data into Google Docs. This is really frustrating if you are not aware of the options provided by Google Docs to handle text wrapping around images or embeds. If you are one of those strugglers looking for an solution then keep reading because in this article we will share tips and tricks to perfectly wrap text around the images.

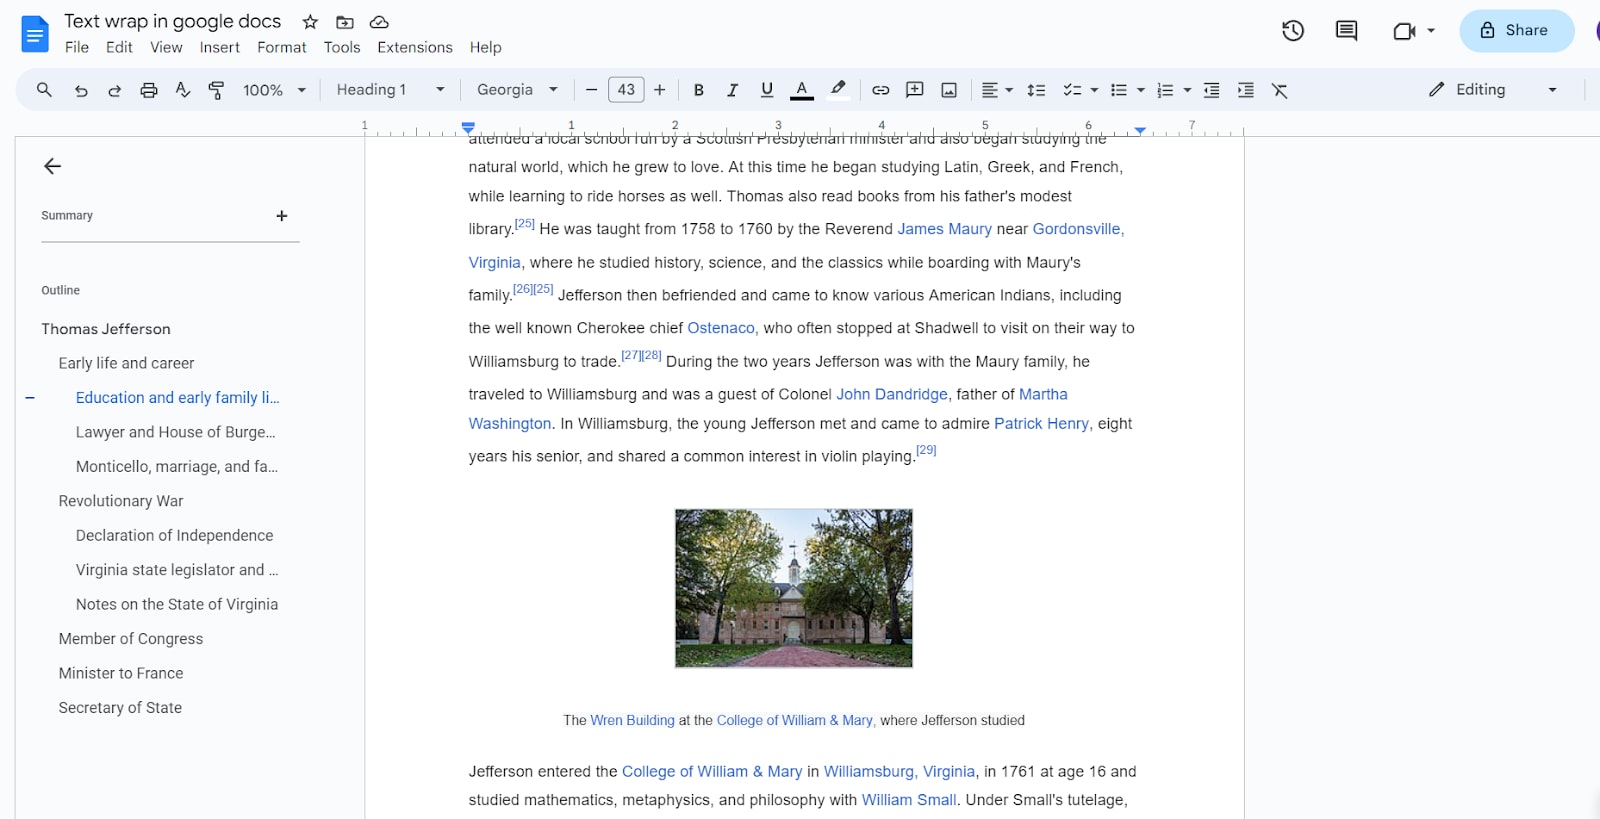
As you can notice copy pasting wiki text into Google Docs changes the formatting and the image takes up all complete width and looks bad.
What is text wrap?
Let’s first try to understand what is actually text wrap. Text Wrap is not a new concept it has existed since the era of Microsoft Word and people are really used to Microsoft’s way of handling text wrapping. In simple words, text wrap is a way to utilize the whitespace around images in a document by placing text in those white spaces. Suppose, you have image that takes on 30% width of the document, you can move the image to the left or right and put the text on the remaining 70% width of the document. See the example below.

As you can see the image is sitting on the left and only occupies 25% width, so the text occupies the remaining space on the right side.

In this example, the image is placed to the right, and all the remaining space on the left is occupied by the text. There’s also a good amount of padding between the image and the wrapped text.
Why Text Wrap your Google Docs?
While you can completely ignore text wrap and use default formatting for your Google Docs, it won’t leave a good impression on your reader. If you are a professional, text wrap is important because,
-
It saves pages, hence the article length is significantly reduced.
-
It gives a professional look to your documents.
-
It becomes easier for a reader to look at the image and read the text about the image without scrolling up and down.
How to text wrap in Google Docs?
The default setting in Google Docs is to not wrap text around images and let it occupy the complete width. However, we can easily change this by following simple steps:
Step 1: Add content and images to the document.
Step 2: Select the image. It will display a menu bar with 5 options below it.

Step 3: Choose the second option i.e. Wrap Text

Step 4: Drag the image to the left or right to wrap text around it.

Demo:
Text wrap in google docs - Google Docs.mp4
How to adjust padding around wrapped Image?
Google Docs gives you the option to adjust the space between the image and the text wrapped around it. By giving adequate space you make it easier for readers to read and make documents look well formatted. Here’s how to add padding around images in Google Docs.
Conclusion
In this article, we saw how to wrap text around images in Google Docs easily.
Thanks for reading. Hope you found it useful.
← Back to Blog