How to create a weekly calendar in google docs
Docswrite Team
Sep 24, 2023
4 min read
Google Docs is an excellent collaboration tool, it makes it easy to share documents with colleagues, teams, and contractors. It enables the seamless editing and commenting across the documents. But, sometimes we need to plan out tasks on weekly, monthly or quarterly basis and most people reach out to external tools for that. Luckily, there’s a way to manage the tracking calender in the Google Docs itself. Continue reading the article if you would like to find out how to create a custom calender in Google Docs.
Why Google Docs calender?
There are many reasons for why you would like to have a calender in your Google Docs. For example, you already share tasks with your team on it you might as well have a calender to track progress of each tasks. Similarly, you can keep your sales pitch and calling schedule at one place.
While other Calender tools are available in the market such a Google calender. It is not very flexible and customizable for every type of tasks scheduling.
How to create a calender in Google Docs?
To create a simple custom calender follow the simple steps below.
Step 1: Create a new Google Doc file or use an existing one!
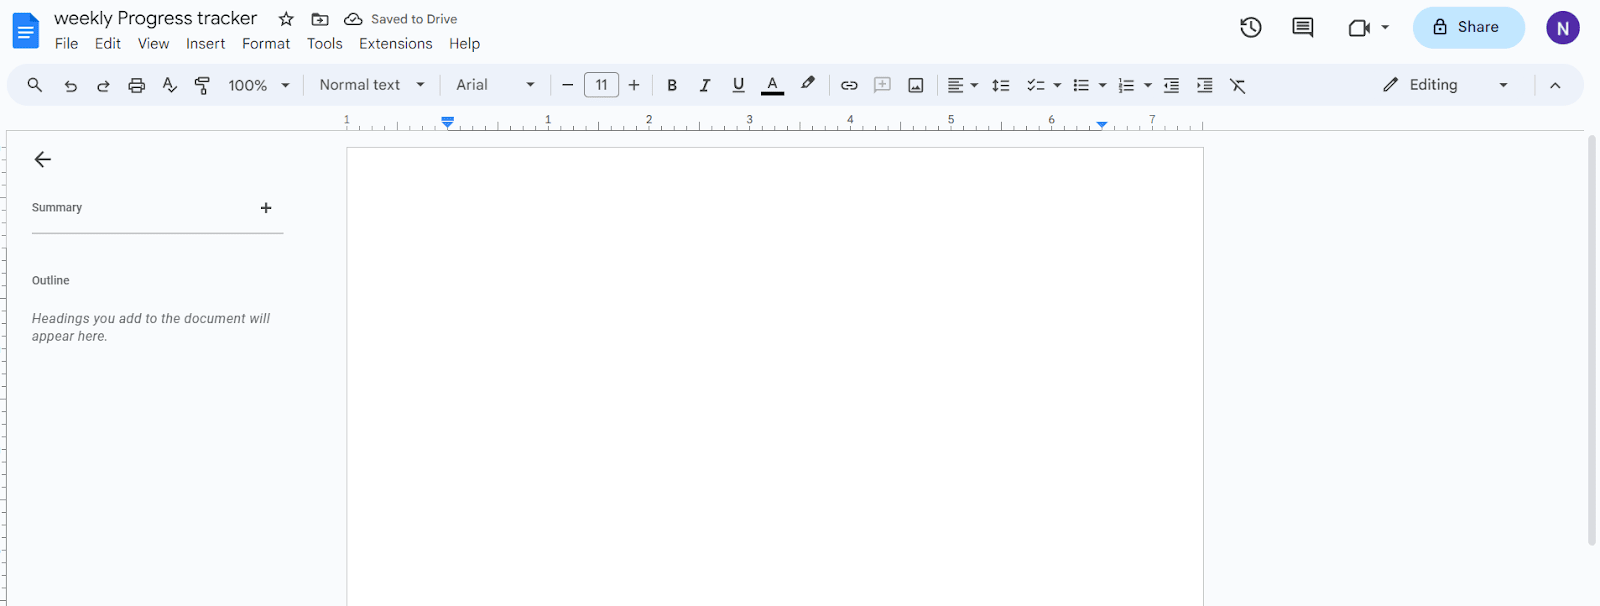
We are going create a weekly progress tracker for our team. Ally, Lisa, John and Michael are the members in our teams. We have a long list of leads that the team has to call over the week and update their calls count in this tracking calender.
Step 2: Add a table
To give our calender a solid structure we will use tables available in the Google Docs. We have 6 working days in a week and 4 team members, so we will need to create a 7 columns * 5 rows table. 1 column and row for table headers.
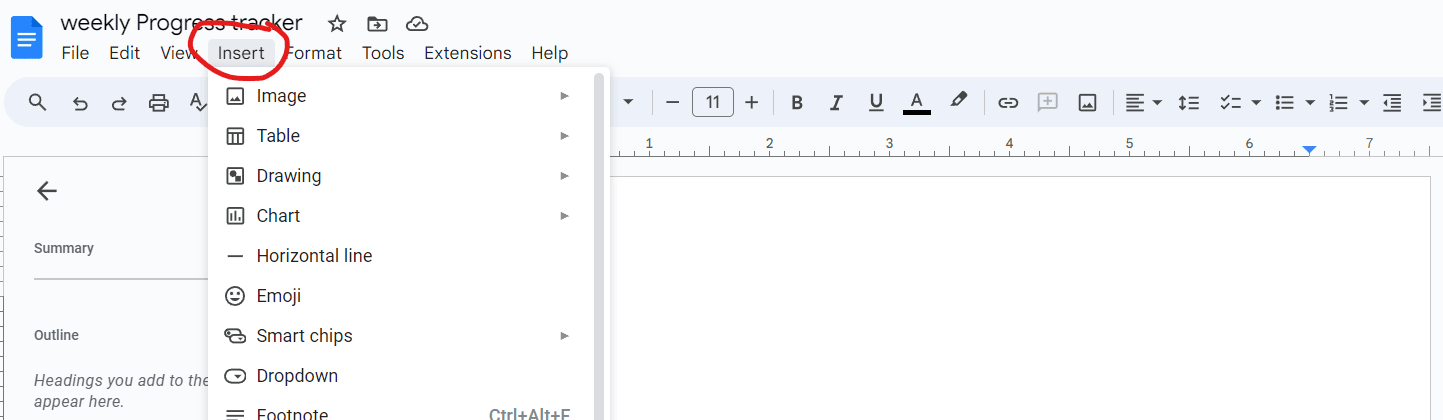
i. Click on the Insert option from the top menu bar. It will open a dropdown menu with many different options
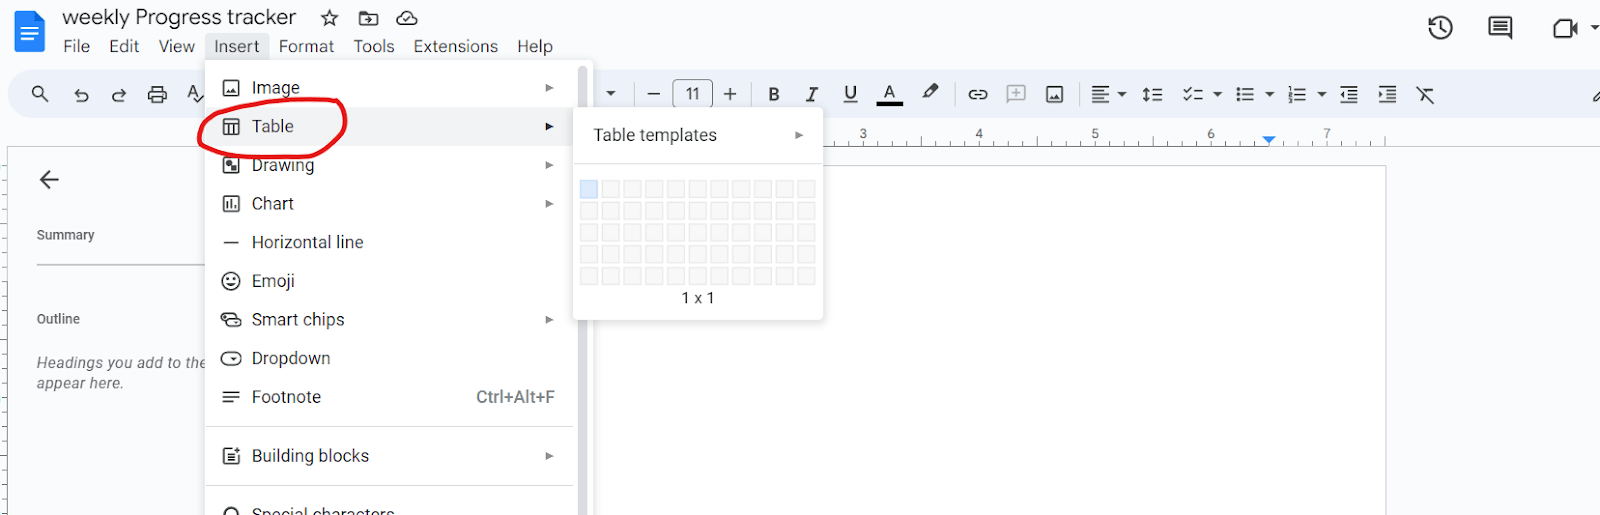
ii. Next, hover the cursor/click on the Table option. It will again open a dropdown menu on the right side.
iii. Now, hover over the boxes to create a 7 * 5 blue colored area using cursor.
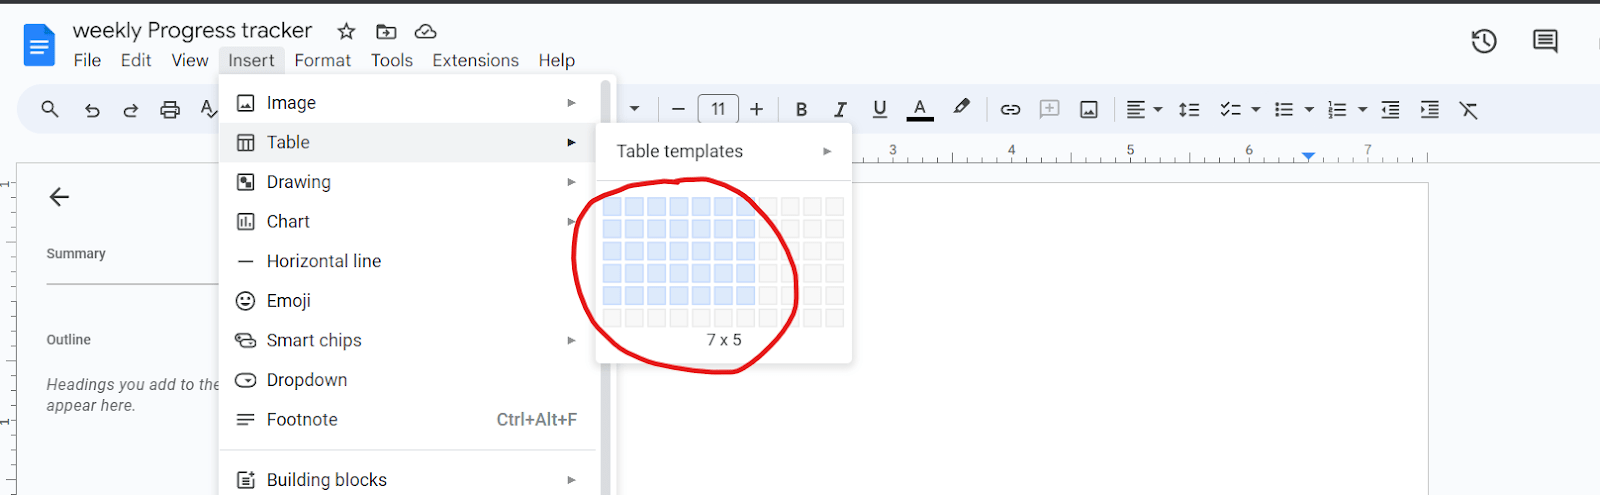
iv. Click on the blue colored box and it will immediately add a table to your document. Let’s quickly fill the table with headers and team members’ titles.
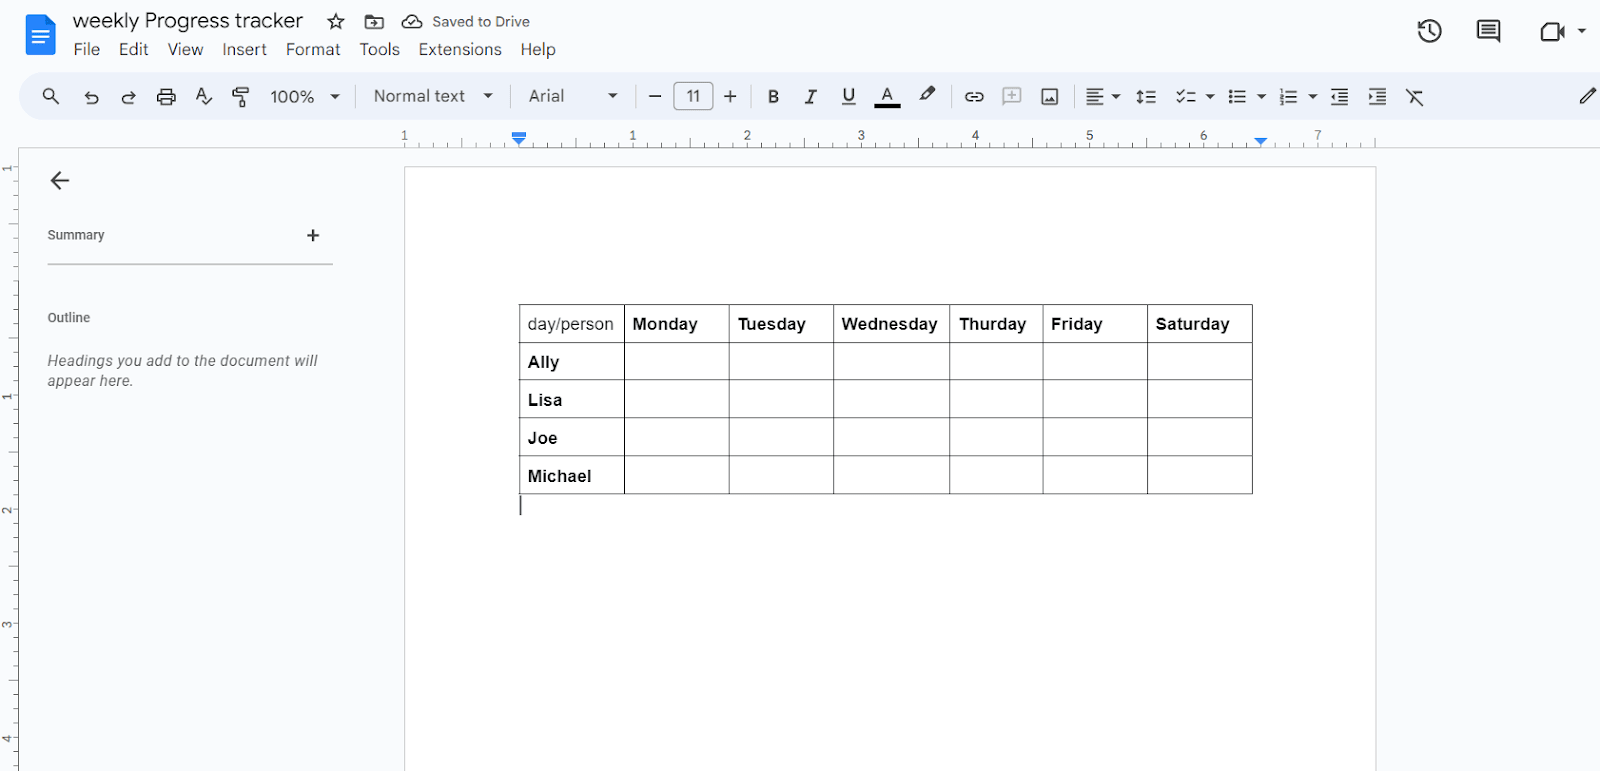
As you can see our calender table is already looking good. This is good point to start however we can do more by adding highlights, changing text colors, etc. You can leverage all the Google Docs features to make this calender more useful and interactive.

Demo:
How to collaborate on calender with others?
The sharing process is same as any other Google document. You need to use the Share button and add their emails. An invitation will be sent to all the members and they can accept it to start collaborating and updating the calender.
Where can I find templates?
There are many websites which you visit for inspiration and downloading free templates on calender for Google Docs. We will list some of them here.
Conclusion
This article showed you how to create a calendar in Google Docs. The method is easy, and the outcome might be special and really helpful. A Google Doc calendar is available online and can be printed. It is suitable for both your own plans, such as workout regimens, and the responsibilities you share with your coworkers. To access this all you need an active Google account. We hope you the article useful.
← Back to Blog